Microneedling is one of the most effective ways to improve skin texture — and one of the most misunderstood. If the idea of tiny needles has kept you from booking, here’s exactly what happens, step by step.
One week before
- Pause retinoids, exfoliating acids and scrubs for five to seven days.
- Avoid sunburn and self-tanner on your face.
- Let us know about any cold sores, recent isotretinoin use or skin conditions.
During your appointment
1. Skin analysis and numbing
Your clinician cleanses your skin, reviews your goals and applies a topical numbing cream for 20 to 30 minutes.
2. Treatment
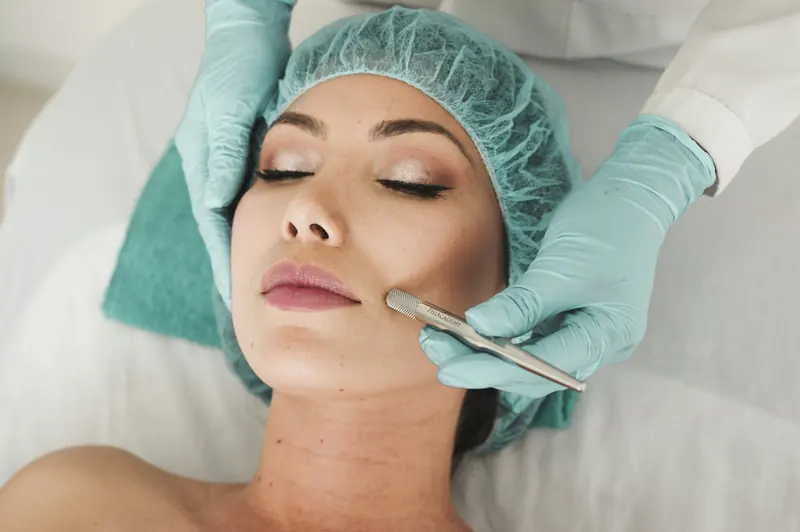
A sterile, single-use cartridge glides across your skin, creating controlled micro-channels. Depth is adjusted zone by zone — shallower on delicate areas, deeper where scarring needs more attention. Most guests describe the sensation as a light vibration.
3. Infusion
While the channels are open, we apply a serum matched to your goals, such as hyaluronic acid for hydration or growth factors for renewal.
The first 72 hours
Expect your skin to look flushed — like a mild sunburn — for one to three days. It may feel tight or slightly dry. Skip makeup for 24 hours, keep your routine gentle, and wear SPF every day.
Collagen is built slowly. The glow comes in days; the real change comes over months.
Why a series matters
Each session prompts a new wave of collagen production. Most guests see the best results after three to four sessions spaced four to six weeks apart — which is why microneedling is a favorite use of membership credits. Ready to start? Book a complimentary skin consultation at your nearest Vitalissea.